
Why Do Some Candles Tunnel - and How Can I Fix It?
Candle tunnelling is one of the most frustrating things that can happen to a candle lover. You invest in a beautiful new candle, light it with excitement… and before you know it, there’s a narrow hole down the centre while the edges stay untouched. But what causes this - and more importantly, how can you fix it safely?
In this guide, we’ll explore the real reasons behind tunnelling, how to rescue a tunnelled candle (without ruining it), and how to choose candles that are less likely to tunnel in the first place.
What Is Candle Tunnelling?
Candle tunnelling occurs when only the centre of the wax melts during a burn, leaving a ring of hard wax around the edges of the container. Over time, this “tunnel” gets deeper while the surrounding wax remains untouched, leading to wasted product and poor scent throw.
Why Do Candles Tunnel? (It’s Not Always Your Fault)
Candle tunnelling is often chalked up to user error - but that’s only part of the story. Let’s take a closer look at the most common causes:
1. First Burn Mistakes
This is the one most people talk about. Wax has “memory”, and if you extinguish a candle before the entire surface has melted on the first burn, it’s likely to repeat that pattern.
- If the melt pool doesn’t reach the edges during the first 1-2 hours, it may never reach them on future burns.
- Short burn times (less than 1 hour) are a frequent culprit, especially with larger-diameter candles.
2. Wick Size or Type
A wick that’s too small or weak for the candle diameter can’t generate enough heat to create a full melt pool. This is more common in cheaper or poorly tested candles.
- Single-wick candles in wide containers need large or specially braided wicks - or even multiple wicks - to burn evenly.
- Eco and wooden wicks are lovely but must be appropriately sized and tested.
3. Manufacturing Issues
Even with a proper first burn and a strong wick, tunnelling can still occur. Some subtle production flaws include:
- Air Pockets: Trapped air during the pouring process can interfere with heat transfer, making the wax around the wick melt unevenly.
- Uneven Wax Distribution: If the wax wasn't fully settled or if temperature inconsistencies occurred during the pour, it can affect how the candle burns later.
- Improper Wax-Wick-Wall Ratio: Some candles look gorgeous, but their design doesn’t support an effective burn (e.g., deep jars with narrow openings).

How to Fix a Tunnelled Candle (Safely)
Before tossing it in frustration - there’s hope. Below are safe and practical methods to correct tunnelling and salvage your candle.
🔥 1. The Hairdryer Method (Quick Surface Reset)
· Use a hairdryer on a low heat setting to gently melt and even out the top layer of wax.
- Hold the dryer a few inches above the surface and move in a circular motion.
- Let the wax settle, then allow the candle to cool flat and untouched.
Pros: Fast and safe for most candles
Cons: Only works for mild tunnelling

🌡️ 2. The Oven Method (Advanced Fix - Use with Caution)
- Preheat oven to a low temperature (around 80-90°C / 175-195°F).
- Place the candle on a baking tray lined with foil or parchment.
- Warm for around 10-15 minutes, watching closely until the surface evens out.
Important: Do not overheat. Never use this method for candles in delicate, vintage, or repurposed containers that may not be oven-safe.

🪙 3. The Foil Dome Trick (Most Popular DIY Fix)
- Light the candle and wrap a dome of aluminium foil around the top, leaving an opening above the flame.
- This traps heat and encourages the edges to melt into the centre.
- Remove the foil after 30-45 minutes or when the wax has fully melted across.
Pros: Low risk and effective
Cons: Takes longer, and foil can get hot - use tongs or gloves

🕯️ 4. Scoop & Reset (Last Resort)
- Gently scoop or shave down the high wax ring using a spoon or butter knife.
- Discard excess wax or repurpose it as wax melts.
- Relight and allow a full melt pool to form.
Tip: This works best in candles that already have a wide melt pool but uneven wax height.

Is Tunnelling a Sign of a Poor-Quality Candle?
Yes and no. Some signs of poor design can lead to tunnelling, but it’s not always a reflection of overall quality.
When Tunnelling Might Mean Low Quality:
- Wick is clearly too small or off-centre
- Candle burns weakly even after multiple hours
- You’ve followed all usage advice and it still tunnels
When It’s Not a Quality Issue:
- You blew it out after 30 minutes the first time (it happens!)
- You’re burning a candle in a draft or cold environment
- It’s a wide candle that needs more time than you’ve given it
How to Choose Candles That Are Less Likely to Tunnel
Buying from a reputable maker - especially one who tests each fragrance and vessel is your best safeguard. Here’s what to look for:
- Wick appropriate to the size of the vessel (or multiple wicks for large formats)
- Wide, shallow jars (rather than deep and narrow ones)
- Natural wax blends (e.g. soy, rapeseed, coconut) with good melt memory
- Customer reviews mentioning clean or even burns
- Transparent brands that explain their materials and testing process
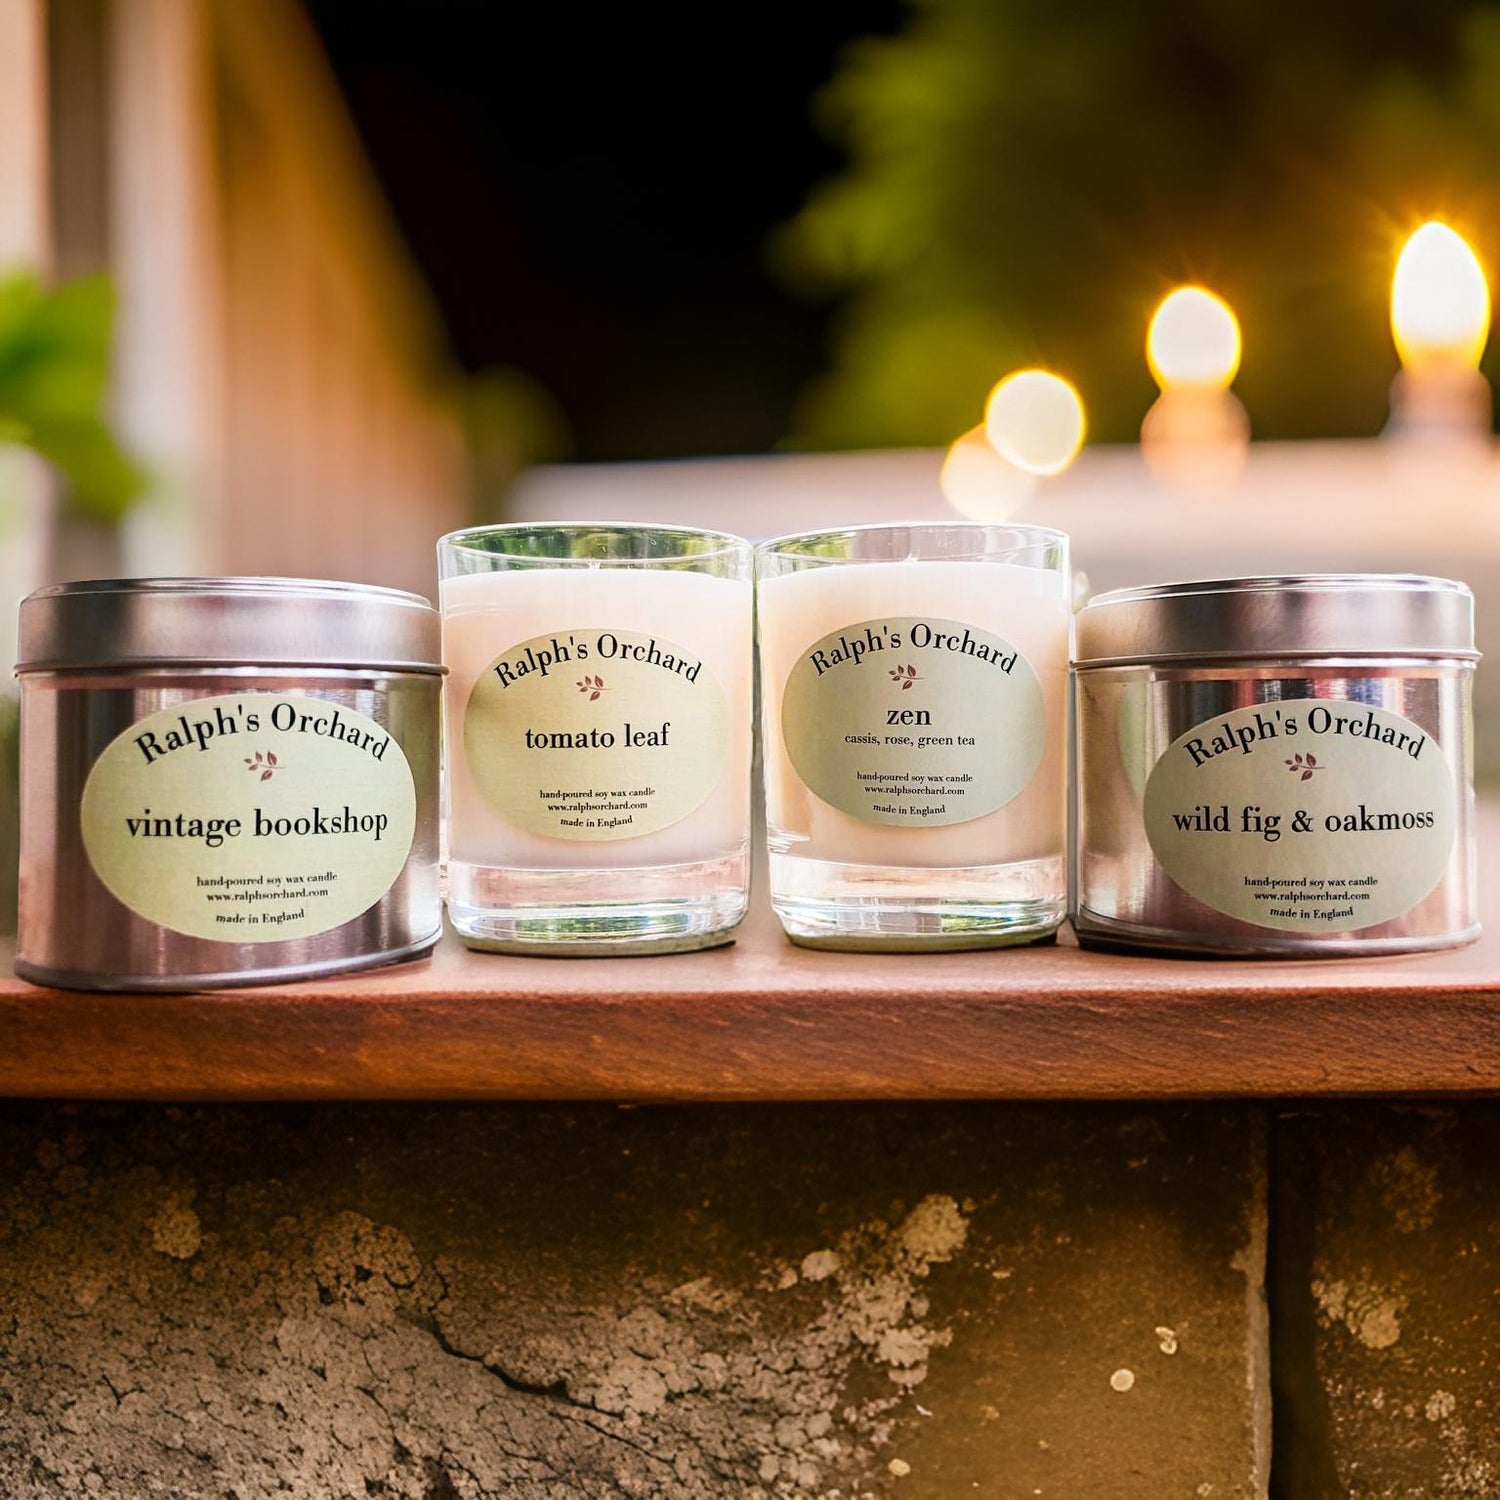
At Ralph’s Orchard, for instance, our candles are hand-poured in small batches using a carefully tested blend of coconut soy and rapeseed wax, with each candle tested for invisible air pockets once set. That way, you’re starting with a strong foundation - no quick fixes needed.
Final Thoughts
Candle tunnelling might be common, but it’s rarely irreversible. Whether caused by a rushed first burn or deeper production quirks, you’ve got safe and practical tools to bring your candle back to life.
The key is understanding why it happens and choosing candles made with care and intention. So next time you light up, give your candle the best chance to shine - edge to edge.